New to the Bar? Choosing Your First Cocktail Shaker Made Easy

Why a Cocktail Shaker for Beginners Matters
A cocktail shaker for beginners is the most important tool for making impressive drinks at home. The good news is you don't need professional experience to choose the right one.
Quick Answer: Best Cocktail Shaker for Beginners
- Easiest to Use: Cobbler Shaker (3-piece with built-in strainer)
- Best Long-Term Investment: Boston Shaker (2-piece, professional standard)
- Best of Both Worlds: French/Parisian Shaker (2-piece, easier to separate)
- Key Features to Look For: Stainless steel construction, 16-28 oz capacity, leak-proof seal
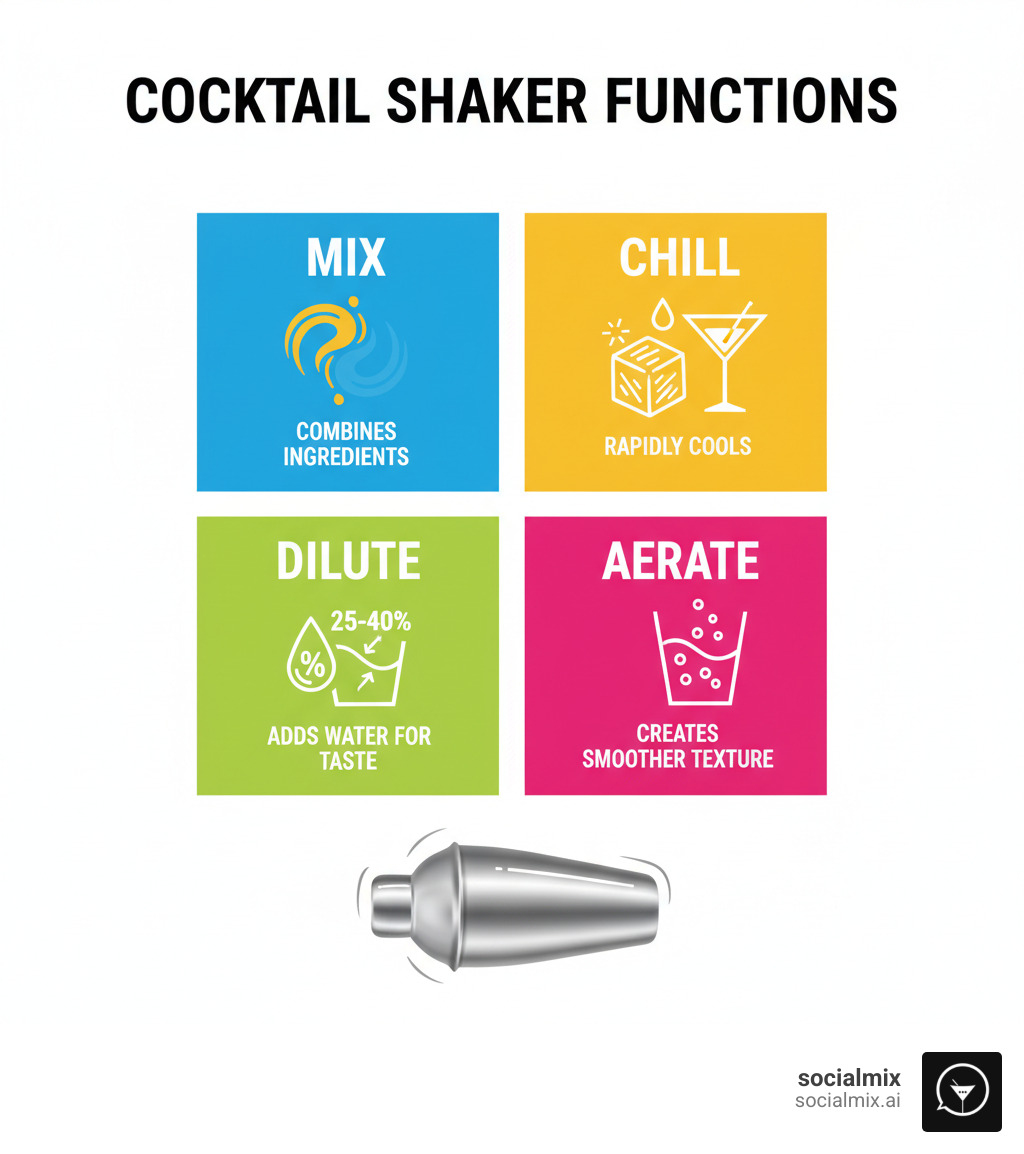
Shaking isn't just about mixing. It performs four critical functions at once: mixing ingredients that don't easily combine, chilling the drink rapidly, diluting it with melted ice for better taste (about 25-40%), and aerating it for a smoother texture.
The shaker's history is surprisingly ancient, with origins tracing back to 7000 BCE. The modern version arrived in 1872, but the principle is unchanged.
Today, there are three main types of shakers: the beginner-friendly Cobbler, the professional-grade Boston, and the stylish French shaker. Each has its own strengths and weaknesses. The key is to understand what you need based on how often you'll be making cocktails and which drinks you want to master.
The Three Contenders: Cobbler vs. Boston vs. French Shakers
Choosing your first cocktail shaker for beginners can feel overwhelming, but there are really only three types you need to know. Think of it as choosing between simple and automatic, powerful with a learning curve, or stylish and sophisticated.
The Cobbler shaker is an all-in-one package. The Boston shaker is the two-piece workhorse of professional bars. And the French shaker (or Parisian) is the sleek option that splits the difference.
Here's how they compare side-by-side:
| Shaker Type | Ease of Use (Beginner) | Required Tools | Capacity (Typical) | Common Issues |
|---|---|---|---|---|
| Cobbler | High (all-in-one) | None extra | 16-24 oz | Gets stuck, leaks, poor built-in strainer |
| Boston | Medium (learning curve) | Separate strainer | 28 oz (large tin) | Requires practice to seal/open, needs separate strainer |
| French | High (stylish, two-piece) | Separate strainer | 18-24 oz | Less common, still needs separate strainer |
Let's look at the details of each.
The Cobbler Shaker: The All-in-One
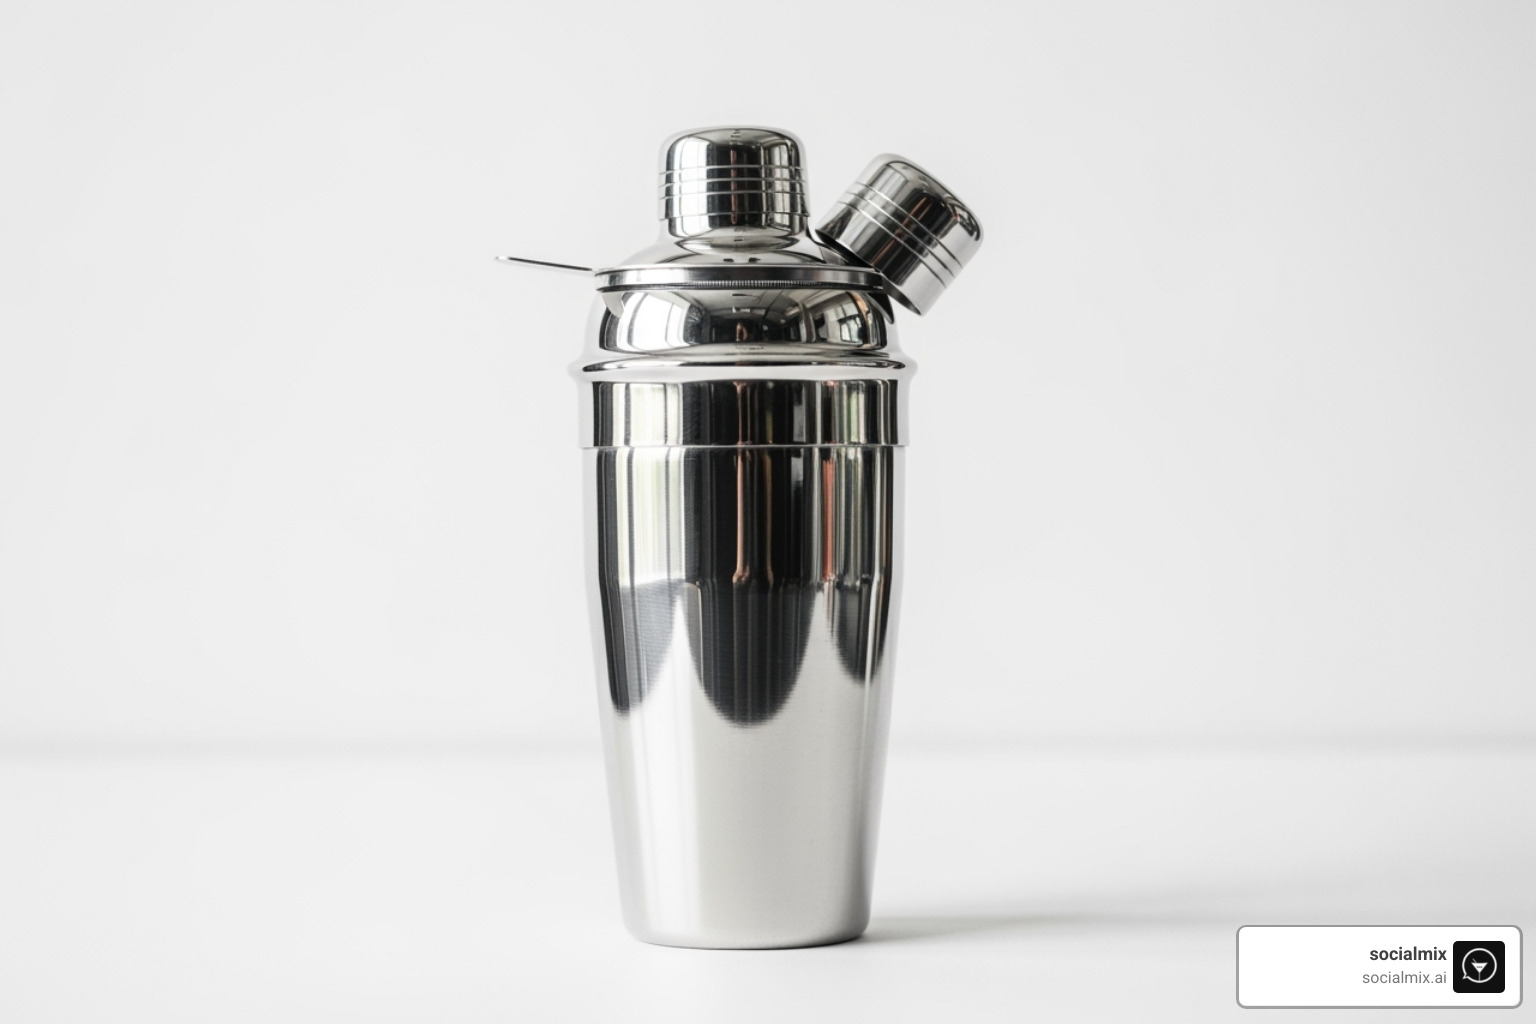
The Cobbler is the classic three-piece design: a main tin, a lid with a built-in strainer, and a small cap. It's often marketed as the ideal cocktail shaker for beginners because its all-in-one design requires no extra tools. This simplicity is appealing for your first margarita at home.
However, the design has drawbacks. The same cold that chills your drink can cause the metal parts to contract and get stuck, making it nearly impossible to open. The built-in strainer is also not very effective, often letting small ice chips and muddled ingredients into your glass. Leaks can be another common issue if the pieces don't fit perfectly, and the capacity is typically smaller, limiting you to one or two drinks per shake.
Despite these limitations, some beginners prefer the Cobbler for its straightforward design. If you want to dive deeper, check out The Great Shaker Debate: Boston or Cobbler for Your Home Bar.
The Boston Shaker: The Professional's Pick
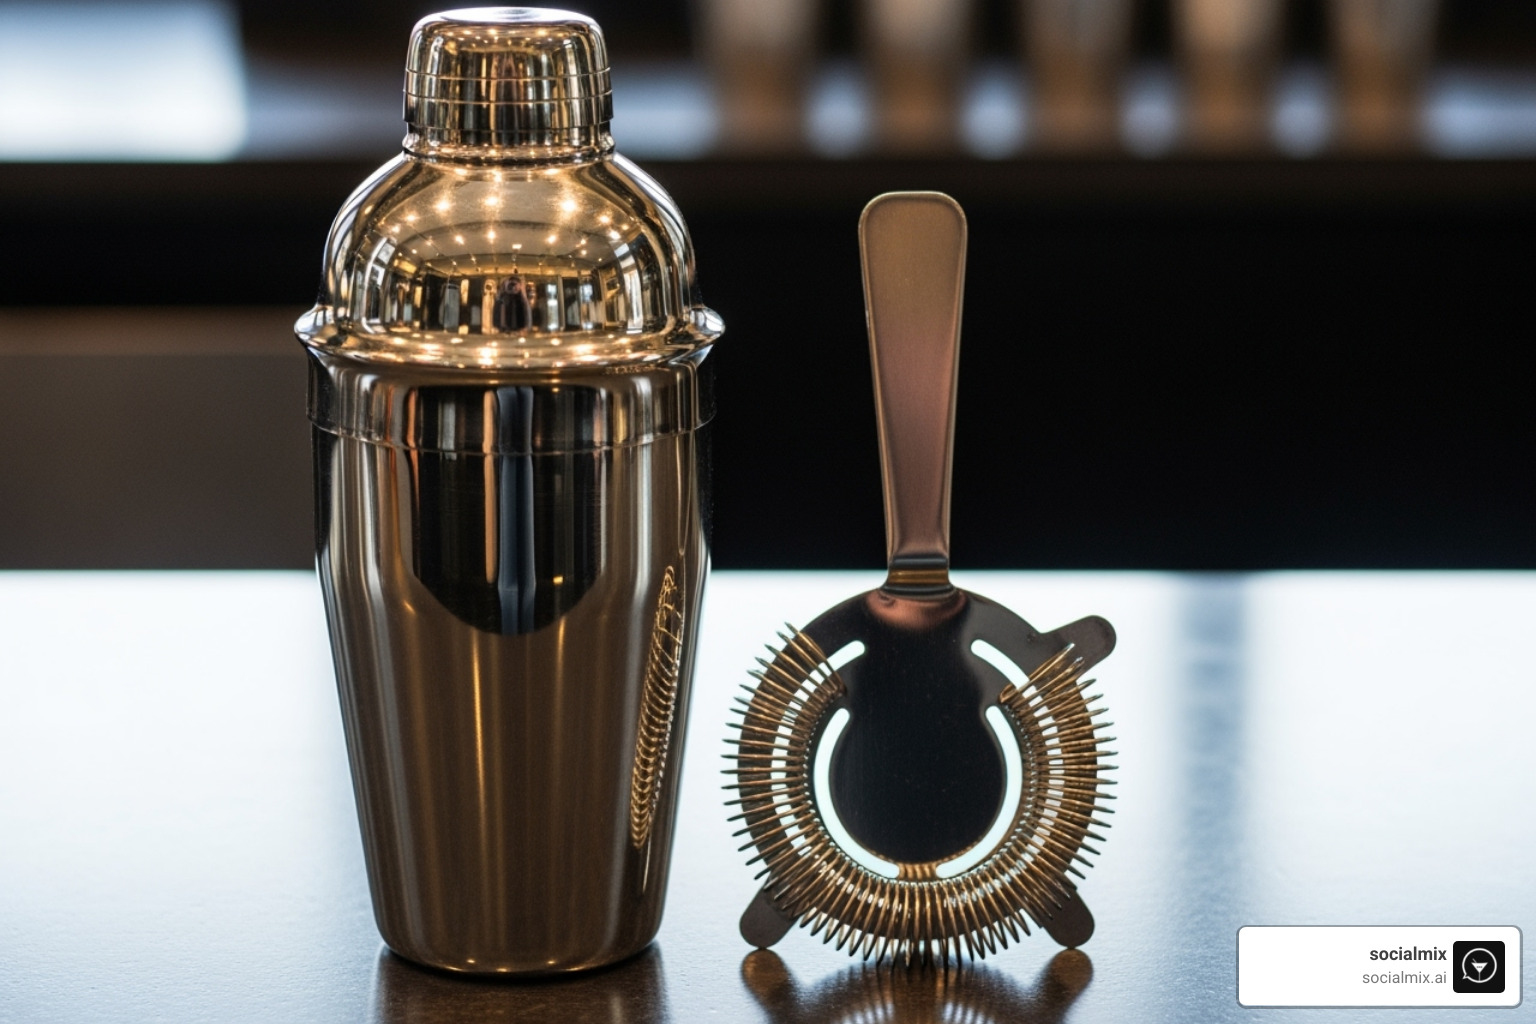
Walk into any professional bar and you'll see the Boston shaker. This two-piece system is the industry standard for good reason. The best version uses two stainless steel tins (tin-on-tin), typically an 18 oz tin nested inside a 28 oz one. We recommend the all-metal version over those with a glass part, as glass can break.
The Boston shaker's genius is its simplicity. The two tins are fitted together at an angle and a firm tap creates a leak-proof vacuum seal. The large capacity allows you to make multiple drinks at once, and the wide opening ensures fast, efficient chilling. Cleaning is also a breeze.
The learning curve involves opening the shaker. It requires a firm tap (a "whack") in the right spot to break the seal, which takes a little practice. You'll also need a separate Hawthorne strainer, but it provides far superior straining than any built-in version.
If you're serious about making great cocktails, this is your path. Learn more in Shake it Like a Pro: Best Boston Cocktail Shakers.
The French (Parisian) Shaker: The Stylish Hybrid
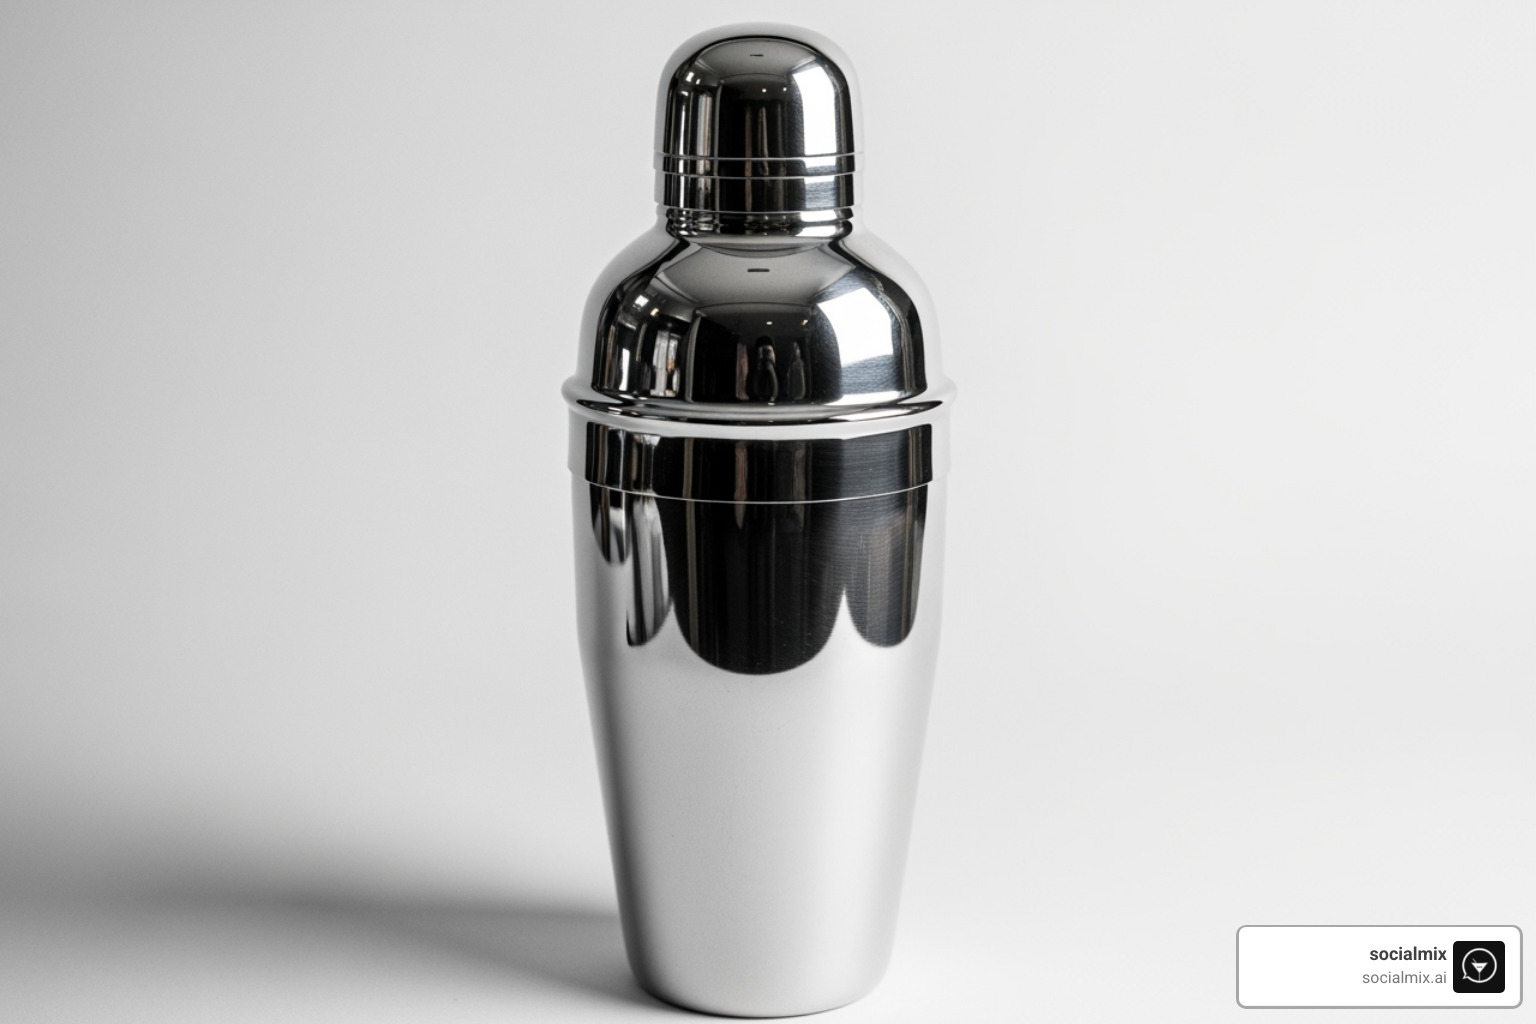
The French shaker is a sophisticated two-piece hybrid. It has the neat, rounded shape of a Cobbler but lacks the built-in strainer, functioning more like a Boston shaker. It's for those who value aesthetics as much as function, making a striking statement on any bar cart.
The two pieces create a strong, leak-free vacuum seal when cold, but it's generally easier to separate than a Cobbler. Capacity is usually enough for one or two drinks.
The main challenges are that French shakers are less common and can be more expensive. Like the Boston shaker, you'll need a separate Hawthorne strainer. The French shaker is a great middle ground: easier for beginners than a Boston, more functional than a Cobbler, and arguably the most stylish. Explore premium options in Elevate Your Mixology: A Guide to Premium Cocktail Shakers.
The Best Cocktail Shaker for Beginners: How to Choose
There isn't one single "best" cocktail shaker for beginners. Your perfect shaker depends on your goals. Are you a casual user shaking up an occasional margarita, or an aspiring mixologist looking to master craft cocktails? Your answer will guide your choice.
Consider how often you'll use it and if you're willing to learn a new technique. Some shakers are great for starting out but become limiting, while others grow with you. For a comprehensive look at what's available, check out Shaken, Not Stirred: Discover the Best Alcohol Shakers of 2025.
Key Features to Consider in a cocktail shaker for beginners
These practical features make a huge difference in your cocktail-making experience.
Material: We strongly recommend stainless steel (18/8 or 304 grade). It's durable, won't rust or add metallic tastes, and is often dishwasher-safe. Copper shakers look stunning but require hand washing and polishing to prevent tarnishing. We generally advise beginners to avoid glass components due to the risk of breakage.
Capacity: A 16-20 oz shaker is fine for a single drink, but you'll quickly wish you could make more at once. A larger Boston shaker with a 28-ounce tin allows you to make multiple cocktails simultaneously. This extra space is also crucial for adding enough ice for proper chilling and dilution.
Weight: Many Boston shaker tins are weighted at the bottom. This adds balance, makes the tins more rigid, and helps create a tighter seal. An unweighted tin is lighter, but the heft of a weighted shaker can actually be easier for a beginner to handle and seal effectively.
Seal: A leak-proof seal is non-negotiable. Quality Boston and French shakers create a tight vacuum seal when cold. Cobbler shakers rely on a snug-fitting lid, which can sometimes leak or get stuck as the temperature changes.
So, Which Type of cocktail shaker for beginners is Right for You?
Here's our straightforward recommendation for choosing the best cocktail shaker for beginners.
For occasional use and simplicity: A Cobbler shaker might be for you. The Tablecraft Cobbler Shaker is a solid choice. You won't need extra tools, but be prepared for the lid potentially getting stuck and the strainer being less than perfect.
For serious home bartenders: We wholeheartedly recommend a Boston shaker, specifically a tin-on-tin model. It requires a separate Hawthorne strainer and a little practice, but the payoff is a durable, versatile tool that delivers professional results. The A Bar Above Weighted Cocktail Shaker Set or the Cocktail Kingdom Leopold Weighted Shaking Tin Set are excellent choices that will grow with your skills.
For style and balanced performance: Consider a French (Parisian) shaker. It's easier to handle than a Boston for some, less prone to sticking than a Cobbler, and looks beautiful on a bar cart. You'll still need a good Hawthorne strainer, but it strikes a nice balance between simplicity and performance.
The best shaker is the one that excites you enough to use it. Choose what feels right for your situation and personality. For more guidance on building out your home bar, check out our guide to Best Bartending Kits for Every Level of Mixologist.
Shaken, Not Broken: A Beginner's Guide to Using and Troubleshooting

You've chosen your cocktail shaker for beginners, and now it's time to make a drink! Shaking is a technique that transforms your ingredients by perfectly mixing, chilling, diluting, and aerating them. Let's walk through how to do it right.
How to Shake a Cocktail: A Step-by-Step Guide
The general rule: shake any drink that contains opaque ingredients like citrus juice, cream, or egg whites. These need vigorous agitation to combine properly.
- Add Ingredients: Pour your liquid ingredients into the shaker, starting with the least expensive first. That way, a measurement mistake won't waste your premium spirits.
- Add Ice: Fill the shaker about two-thirds full with fresh ice. Don't skimp here; ample ice is key for proper chilling and dilution, preventing a watery drink.
- Seal the Shaker: For a Cobbler, place the lid and cap on firmly. For a Boston or French shaker, place the smaller tin/top into the larger one at an angle and give it a firm tap to create a seal.
- Shake: Grip the shaker firmly with both hands and shake vigorously over your shoulder for 10 to 15 seconds. You're done when the outside of the shaker is frosted and uncomfortably cold.
- Open the Shaker: For a Cobbler, remove the cap first, then the lid. For a Boston, hold the shaker and give it a sharp "whack" with the heel of your other hand on the side where the two tins meet to break the vacuum seal.
- Strain: Pour your drink through the shaker's built-in strainer (Cobbler) or a separate Hawthorne strainer (Boston/French) into your glass.
For drinks with egg whites, perform a "dry shake" (shaking without ice) first to build foam, then a "wet shake" with ice. To understand why dilution improves flavor, this nerdy cocktail science article explains the details.
Common Problems (and How to Avoid Them)
Even with the best cocktail shaker for beginners, issues can arise. Here's how to handle them.
Leaking Shakers: This is usually caused by an improper seal or a low-quality shaker. Always ensure a tight seal before you start. If your shaker consistently leaks, it might be time to upgrade.
Stuck Shaker: This is common with Cobblers, as the cold metal contracts. To fix it, wait a moment for it to warm up, run the lid under warm water, or gently tap the sides. Boston shakers rarely get stuck if you use the proper "whack" technique to open them.
No Shaker? No Problem: In a pinch, a sturdy mason jar with a tight lid or a protein shaker bottle works surprisingly well. Just be sure to use a separate kitchen strainer to pour your drink.
Frequently Asked Questions About Cocktail Shakers
Here are answers to the most common questions we hear from people choosing their first cocktail shaker for beginners.
Which drinks should be shaken, not stirred?
Shake drinks that contain opaque ingredients like citrus juice, fruit juice, cream, or egg whites. Shaking is necessary to combine, chill, and aerate these ingredients, creating the proper texture for cocktails like Margaritas, Daiquiris, and Whiskey Sours.
Conversely, you should stir spirit-forward cocktails like Martinis, Manhattans, and Old Fashioneds. Stirring chills and dilutes the drink while preserving its clear, silky texture. And never shake carbonated ingredients unless you want a mess!
How long should I shake a cocktail for?
As a general rule, shake vigorously for 10 to 15 seconds. The tell-tale sign you're done is when the outside of your shaker becomes frosted and feels very cold to the touch. This indicates the drink is properly chilled and diluted.
For cocktails with egg whites, you'll want to use a "dry shake" (shaking for 10-15 seconds without ice) to build a rich foam, followed by a normal "wet shake" with ice to chill the drink. For more on the science, check out this nerdy cocktail science article.
Can I put my cocktail shaker in the dishwasher?
It depends on the material. Most high-quality stainless steel shakers, especially tin-on-tin Boston shakers, are completely dishwasher-safe. However, always check the manufacturer's instructions.
If your shaker has a copper, gold, or other plated finish, hand wash it to prevent the finish from tarnishing or chipping. The same applies to any parts with rubber gaskets. Regardless of the type, it's always a good idea to rinse your shaker immediately after use to prevent sticky residues from drying on it.
Conclusion: Shake Up Your Social Scene
Choosing the right cocktail shaker for beginners is your first step into home mixology. We've covered the all-in-one Cobbler, the professional-standard Boston, and the stylish French shaker. The "best" one for you truly depends on your personal goals and how often you plan to make drinks.
That said, for the best long-term investment, we recommend a quality tin-on-tin Boston shaker with a Hawthorne strainer. The small learning curve is a worthwhile trade-off for its durability, versatility, and superior results.
What matters most is that you start experimenting. Confidence comes from practice—learning from the occasional spill and finding what flavors you love to create.
At socialmix, we're all about elevating social experiences through the art of mixology. Equipping yourself with the right tools and knowledge transforms ordinary evenings into memorable occasions. So grab your shaker, get some fresh ingredients, and start your adventure. When you're ready to expand your toolkit, explore The Ultimate List of Essential Bar Tools and Equipment to complete your home bar.
Cheers to shaking things up!


Leave a comment